STAY UP TO DATE WITH ART IDEAS
Our News
How to frame art
How to Frame Art: A Step-by-Step Guide

Framing art is an essential step in preserving and showcasing your pieces, whether they're paintings, prints, photographs, or drawings. A well-chosen frame can enhance the artwork's aesthetic appeal and protect it from damage. Here's a comprehensive guide on how to frame art:
Step 1: Choose the Right Frame
Selecting the appropriate frame is crucial as it sets the tone for your artwork. Consider the following:
- Material: Frames come in various materials, including wood, metal, and plastic. Wood frames offer a classic, versatile look, while metal frames provide a sleek, modern touch.
- Style: Match the frame style with the artwork's theme. For example, ornate frames complement traditional paintings, while minimalist frames work well with contemporary pieces.
- Color: The frame color should enhance, not overshadow, the artwork. Neutral colors like black, white, or natural wood are safe choices.
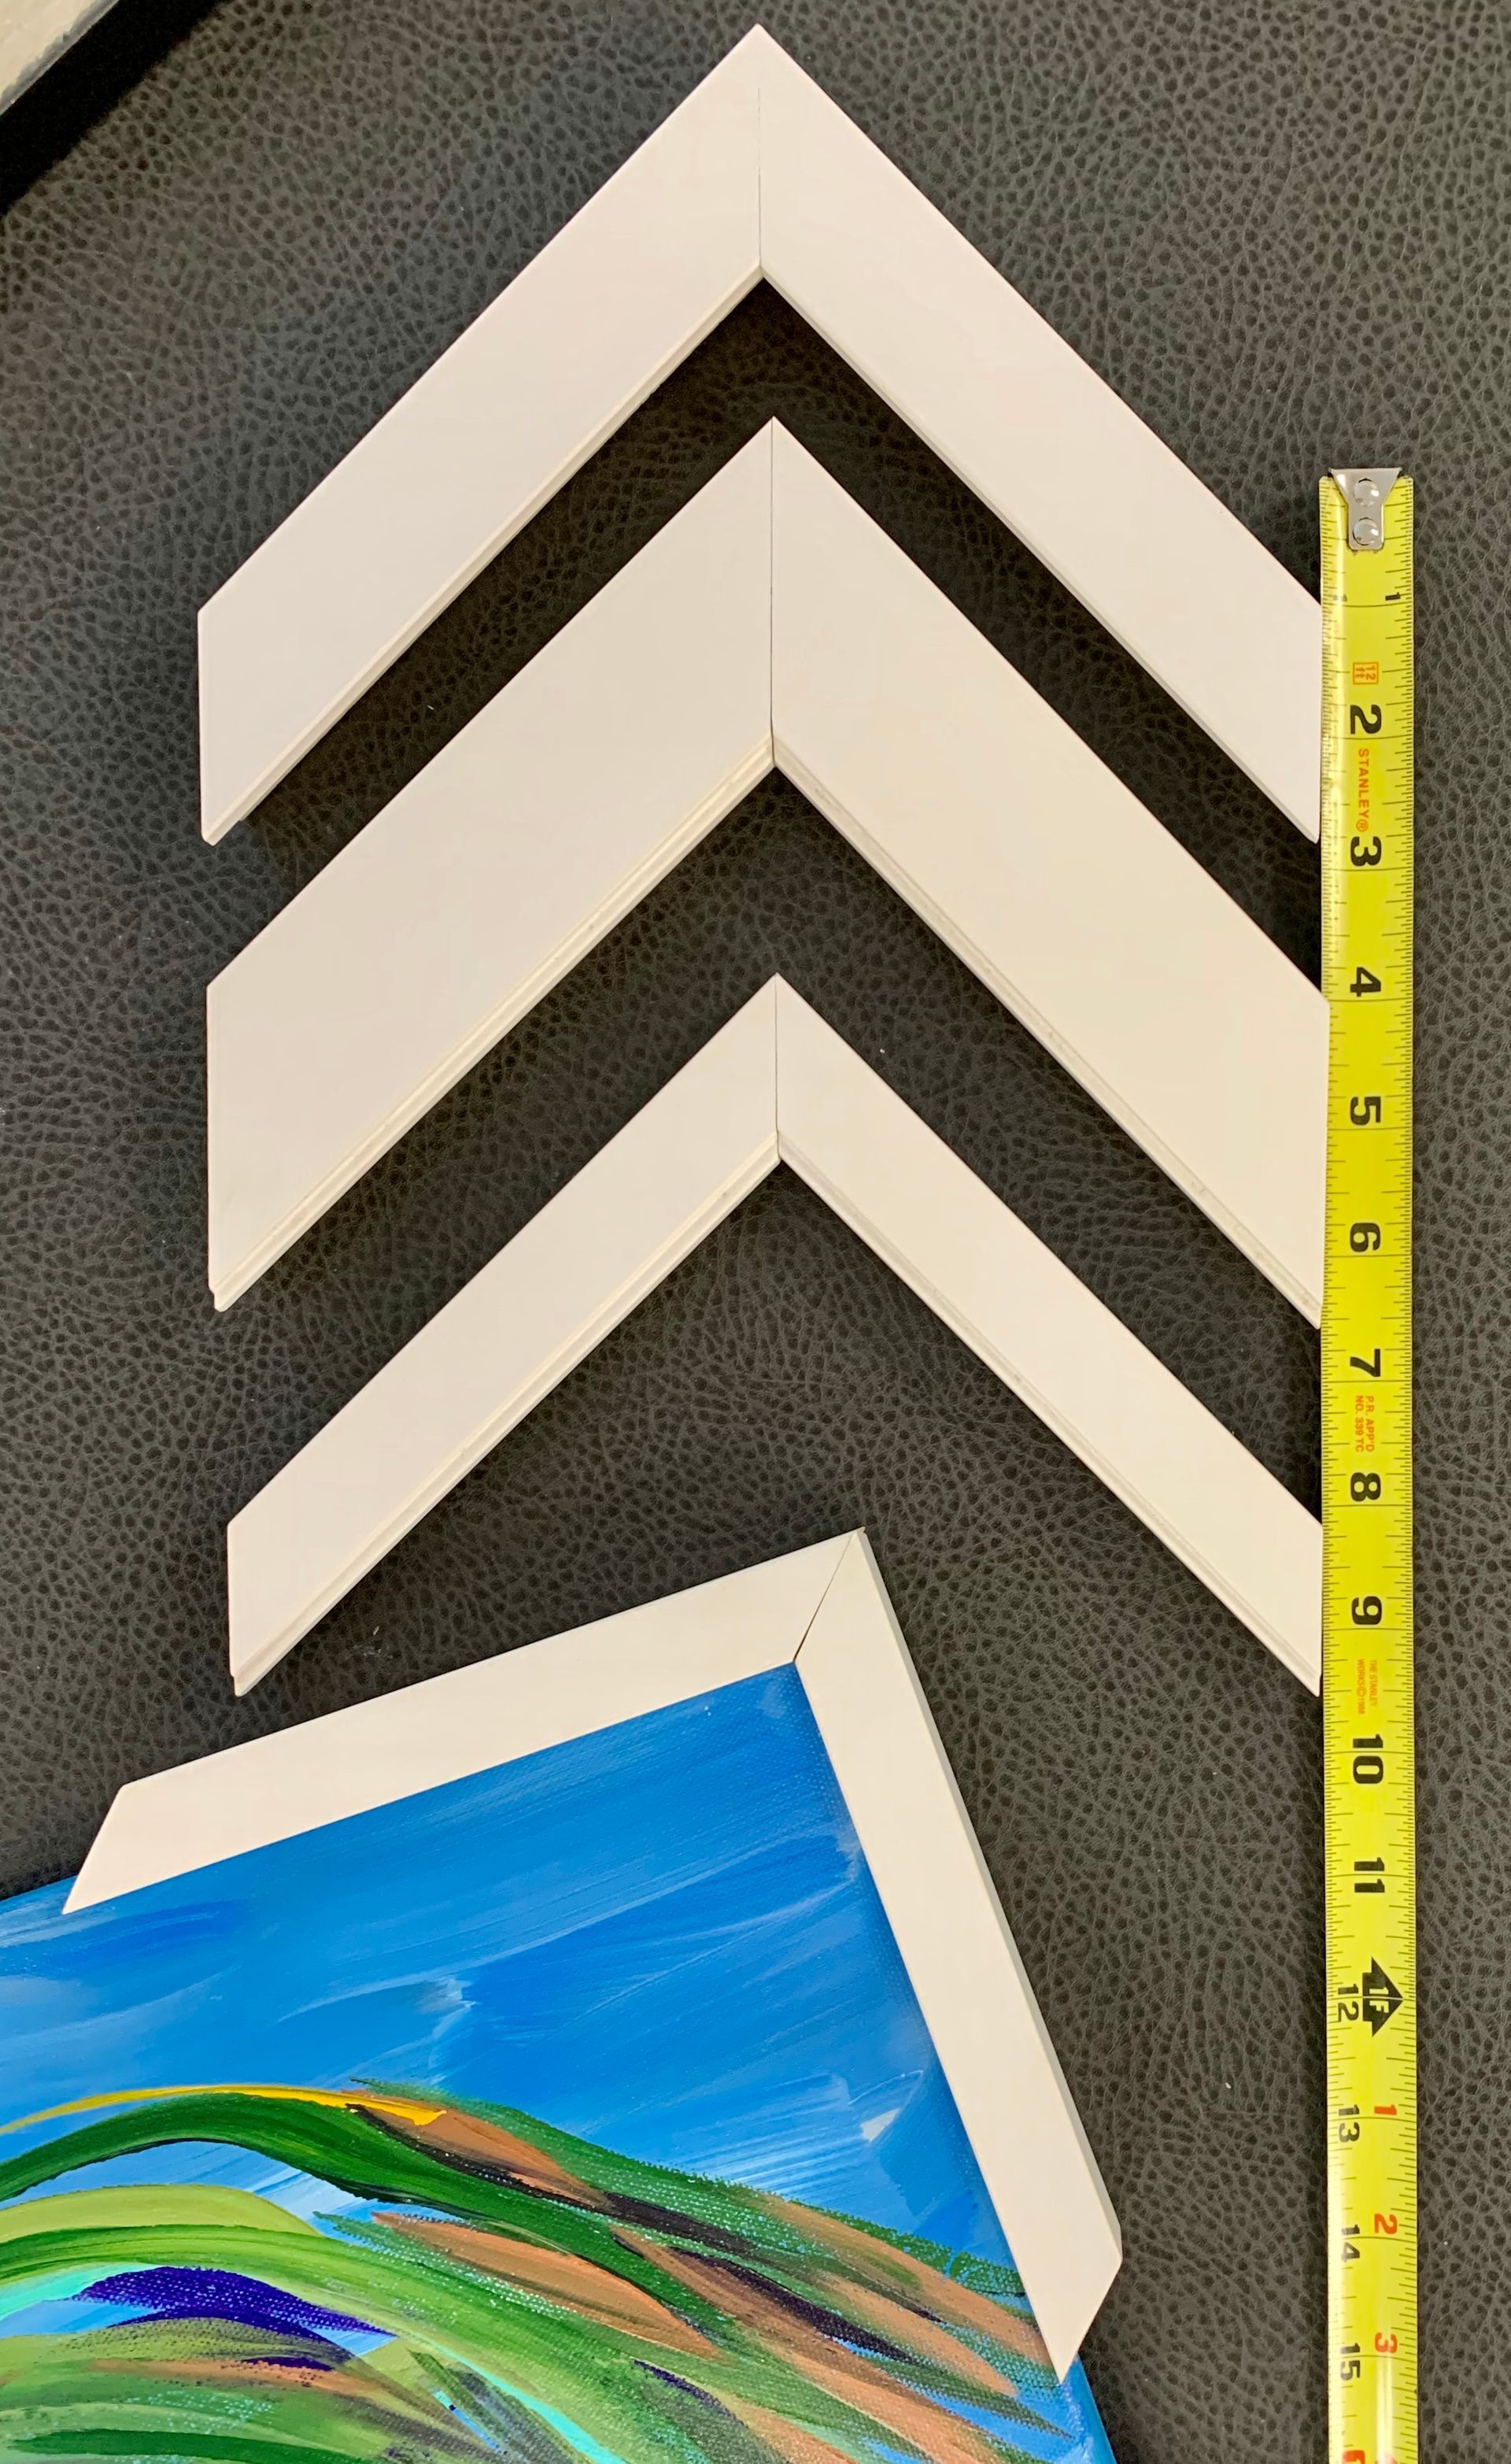
Step 2: Measure Your Artwork
Accurate measurements ensure a perfect fit. Measure the height and width of your artwork and add an extra inch to each side for matting, if desired.
Step 3: Select Matting
Matting serves two purposes: it prevents the artwork from touching the glass and adds a decorative border.
- Mat Color: Choose a color that complements the artwork without distracting from it. White or off-white mats are classic choices.
- Mat Size: Standard mats are 2-4 inches wide, but you can customize this based on your preference and the artwork's size.
Step 4: Gather Materials
You'll need the following materials:
- Frame
- Mat board (if using)
- Mounting board or foam board
- Acid-free tape or mounting corners
- Glass or acrylic glazing
- Hanging hardware (D-rings, wire, and hooks)
Step 5: Mount the Artwork
Secure the artwork to the mounting board using acid-free tape or mounting corners. This ensures the piece remains flat and centered within the mat and frame.
Step 6: Assemble the Frame
- Clean the Glass: Wipe both sides of the glass or acrylic glazing with a lint-free cloth to remove dust and fingerprints.
- Layering: Place the glass into the frame first, followed by the mat with the mounted artwork, and finally the backing board.
- Secure the Frame: Use frame clips or nails to secure the backing board in place. Ensure everything is snug to prevent shifting.
Step 7: Attach Hanging Hardware
- Attach D-rings to the back of the frame, about one-third of the way down from the top.
- Cut a piece of hanging wire slightly longer than the width of the frame.
- Thread the wire through the D-rings and twist it securely, leaving some slack to make hanging easier.
Step 8: Hang Your Art
Choose a spot that complements the artwork and your space. Use a level to ensure the frame is straight, and mark the wall for hooks. Install hooks or nails securely and hang your framed art.
Tips for Framing Art
- Consider UV Protection: UV-protective glass or acrylic can help prevent fading from sunlight exposure.
- Avoid Direct Sunlight: Place framed art away from direct sunlight to preserve its colors.
- Maintain Your Frames: Regularly dust your frames and check for any signs of wear or damage.
By following these steps, you can frame your art beautifully and ensure it remains a cherished part of your collection for years to come.